Making your own unique advent calendar is very simple and also a great fun! Watch our latest #smartphotodiy video to see how we created an Advent calendar using just regular gift bags, some decoration tape, and a photo jigsaw puzzle! Fill the bags with puzzle pieces and enjoy revealing the picture piece by piece until Christmas! This is truly an Advent calendar just as suitable for children as for adults. Read our simple step-by-step guide below!
📌 You need:
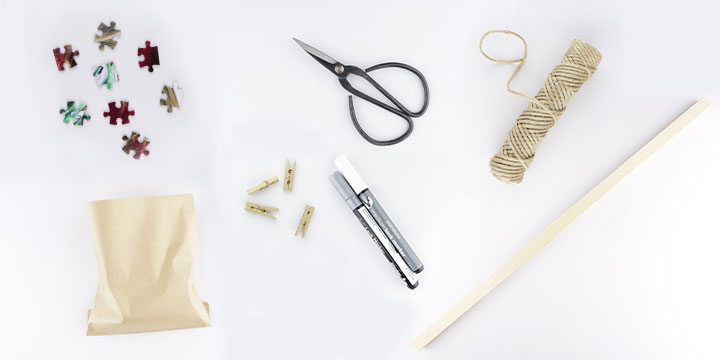
- A photo jigsaw puzzle – choose from – 24 to 1000 pieces
- Round Labels – download the free template for our stylish numbers here
- Gift bags – available in hobby and gift shops
- Decorative Christmas tape – available in hobby and gift shops
- Metallic marker pens in white and gold – available in hobby and gift shops
- Glue
- Pins, hangers, or similar to hang the bags
- Hemp string
- Mini clothes-pegs
- Spruce (or similar) twigs
- Red velvet ribbon and similar to decorate your Advent calendar
What to do:
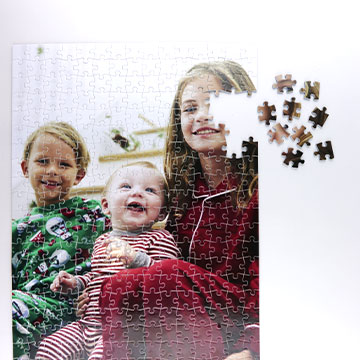
1. Make your own photo jigsaw puzzle!
There are many things you can put in your calendar, and not only will it provide a surprise every day, but it will also be a joint activity where you build up the puzzle every day right up until Christmas. Choose how many pieces you want based on who will receive your Advent calendar.
At Smartphoto, you can have 24 up to a whopping 1000 pieces. We also have a 30-piece puzzle designed for children, with durable pieces made of MDF instead of hard cardboard, which we use to make the other puzzles. You can find all our jigsaw puzzles here.
Tip: A fun idea is to put a Christmas greeting or message in your puzzle. For example, “Merry Christmas!” or “We love you”. You can do this with any standard image processing program before uploading your photo to the Smartphoto editor and creating your puzzle.
2. Personal labels numbered 1 to 25 – free template for you to download!
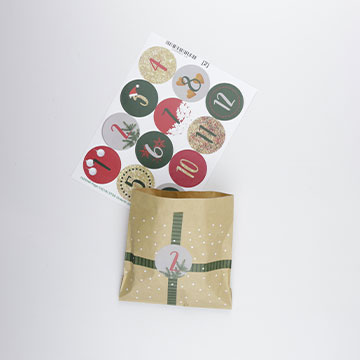
There are many things that you can fill a gift calendar with. You can also decorate the bags and keep them in order by creating stickers. Here, we’we done half the work for you! Smartphoto’s graphic designer Lisa has designed a fitting template to download completely free of charge! Download them to your computer, go to the round stickers product page, and upload your numbers directly into Smartphoto’s editor. The stickers are super-stylish and easy to attach to the bags.
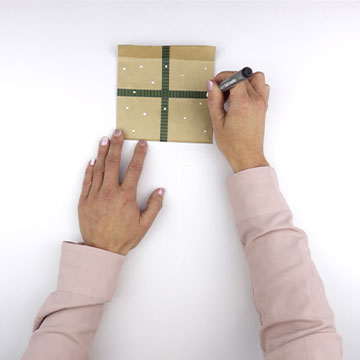
3. Decorate your gift bags
Then, it’s time to start decorating your gift bags. Your imagination is the limit!. We used a selection of Christmassy tapes with spruce twigs, hearts, and small birds. Then, we used metallic marker pens to draw snowflakes, hearts, and dots on them. We made each bag unique, but also made sure that they harmonized with each other. Finish by attaching a number label to each.
4. Share the puzzle pieces between the bags!
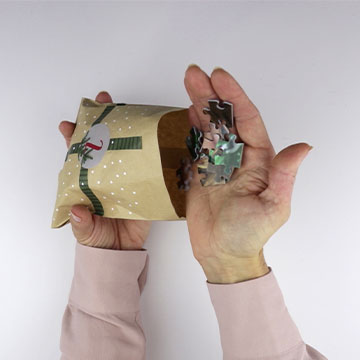
Now that your bags are decorated, it’s time to fill them with puzzle pieces! How many pieces you put in each bag is determined by how many pieces are in your puzzle. Here, you can also decide the difficulty of your Advent puzzle. Should the pieces of the puzzle in each bag fit the same area or are they random? You could also put little presents in some bags as an extra surprise. Maybe a key ring, a fridge magnet, or a Christmassy message.
5. Hang up your bags and create a beautiful wall decoration
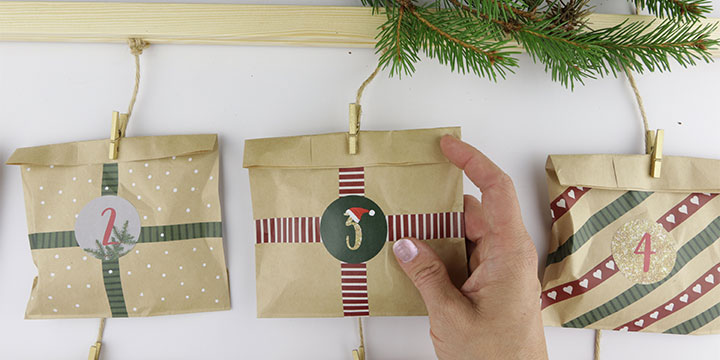
When you have your bags filled and ready, it’s time to hang them all together as an Advent calendar. There are several ways to do this. We used one of our 60-cm poster hangers, but you could make it extra seasonal and rustic by using a suitable tree branch.
We started by attaching four rows of hemp twine and then attached the bags using the mini clothes-pegs. It’s a good idea to secure the peg to the twine with a blob of hot glue, too. This also makes it easier to get the bags to hang straight. To get the right length of string, we laid out our finished bags on the floor at a distance we thought looked right. Then just decorate to your heart’s content! We wanted our Advent calendar to be quite stylish, so we attached some spruce twigs and silk ribbon rosettes to the hemp cord. That’s all there is to it.
Puzzle all the way to Christmas!
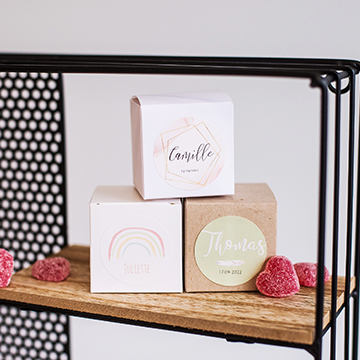
That’s how easy it is to make your own unique and fun Advent calendar. There’s plenty of room for variation, too. Don’t want bags? Then use these small gift boxes that you can stack into neat shapes. Then, all that’s left to do is surprise the kids (or their grandparents!) with their amazing advent calendar! It’s great to do puzzles together as a family, too, so imagine the children’s excitement as the puzzle grows and the big day gets nearer.
Personal Advent Calenders – More News!
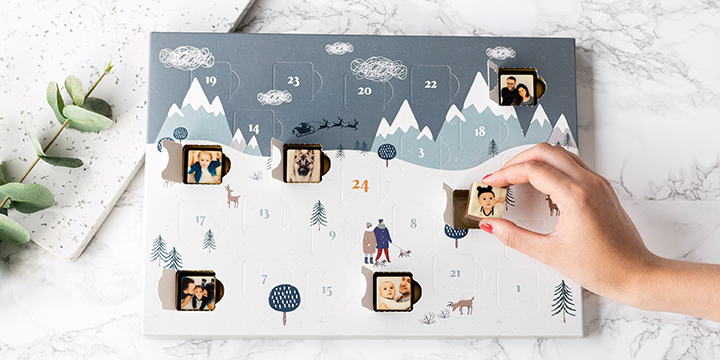
If you don’t have time to make one from scratch, we have other ways to get a personal and unique advent calendar full of memories to share with your loved ones. Check out our Advent calendar options You’ll have a new photo under each gap to enjoy. Or why not try this year’s new product, the chocolate photo calendar. The photo itself is printed directly on the chocolate! It’s real, delicious Belgian chocolate, too, making things even sweeter (as if that were possible!).
Good luck with your advent calendar!
Please share your creations with us!
Want to see more tips for fun and easy crafts? Why not subscribe to our YouTube channel and, of course, the blog.
We would love for you to share what you do with your photos. Feel free to tag us on Instagram @smartphoto.ie or use #mysmartphoto.
Happy crafting!
Also read:
🎅 How to make a Christmas Present Pop-Up Card – DIY VIDEO